MyTimeSheet - Help
Business time management on the go!


-
Sign up
-
Login - Company Code
- Dashboard - Recent Time sheet
- Company
- Premium Settings
- Holiday List
- Quick book
- TimeSheet Alert Setting
- Users
- Projects
- Time
- Payroll Settings
- Report
- Upgrade Plans
Sign up
If you're a new user Sign up by providing all the required details,
Administrator:If you're managing your employee's time tap on 'Create company to manage employees time' and then you can setup the
company, add employees/users, assign projects & review their time.
Employee: If you are reporting your time to admin, tap on 'I have a code to Join company' & provide the company code given by your administrator.
Company code: It's a unique code generated for the company, which is given to employees to join under the company account if they have signed up for the account by themselves, so that they can submit their timesheet to their administrator.
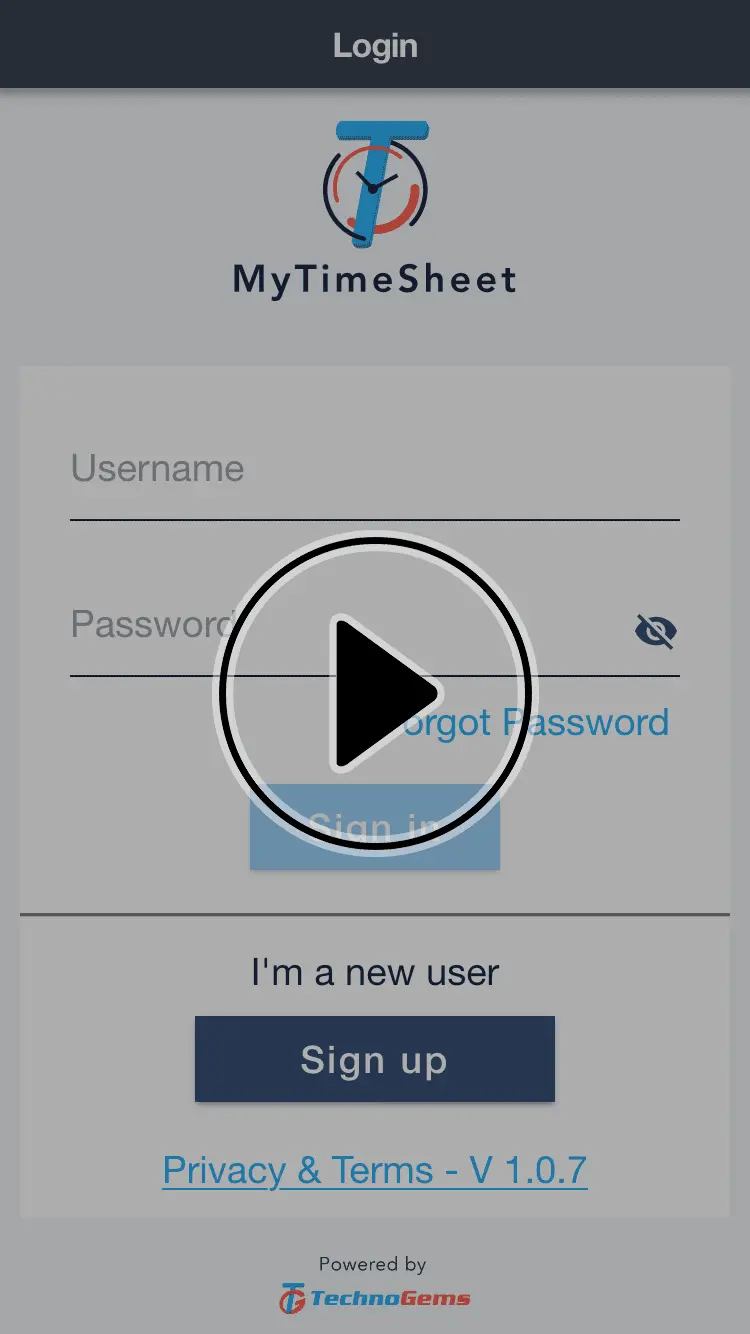
Login
Login to Timesheet app using the username & password that is registered.
Forgot Password:If you forget your password, you can reset by entering your username in Login screen & clicking on Forgot Password, that'll generate a one time password & send it to your registered email, with the OTP you can set the new password.
Dashboard
Administrator: At the dashboard administrator can view the number of missing, submitted and rejected timesheet. A pie chart to view hours by project at a glance.
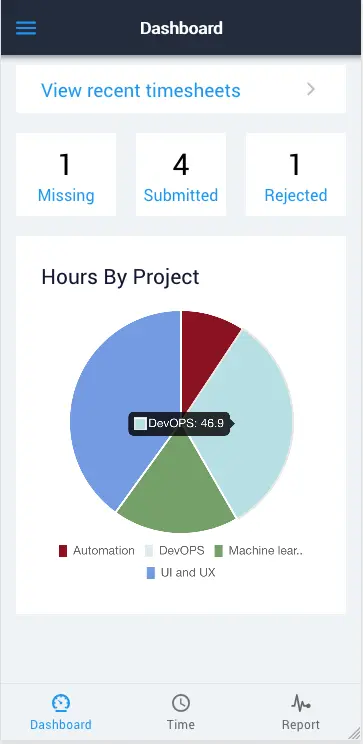
Basic Users: At the dashboard Users can view the number of project . A Bar chart to view hours by project at a glance.
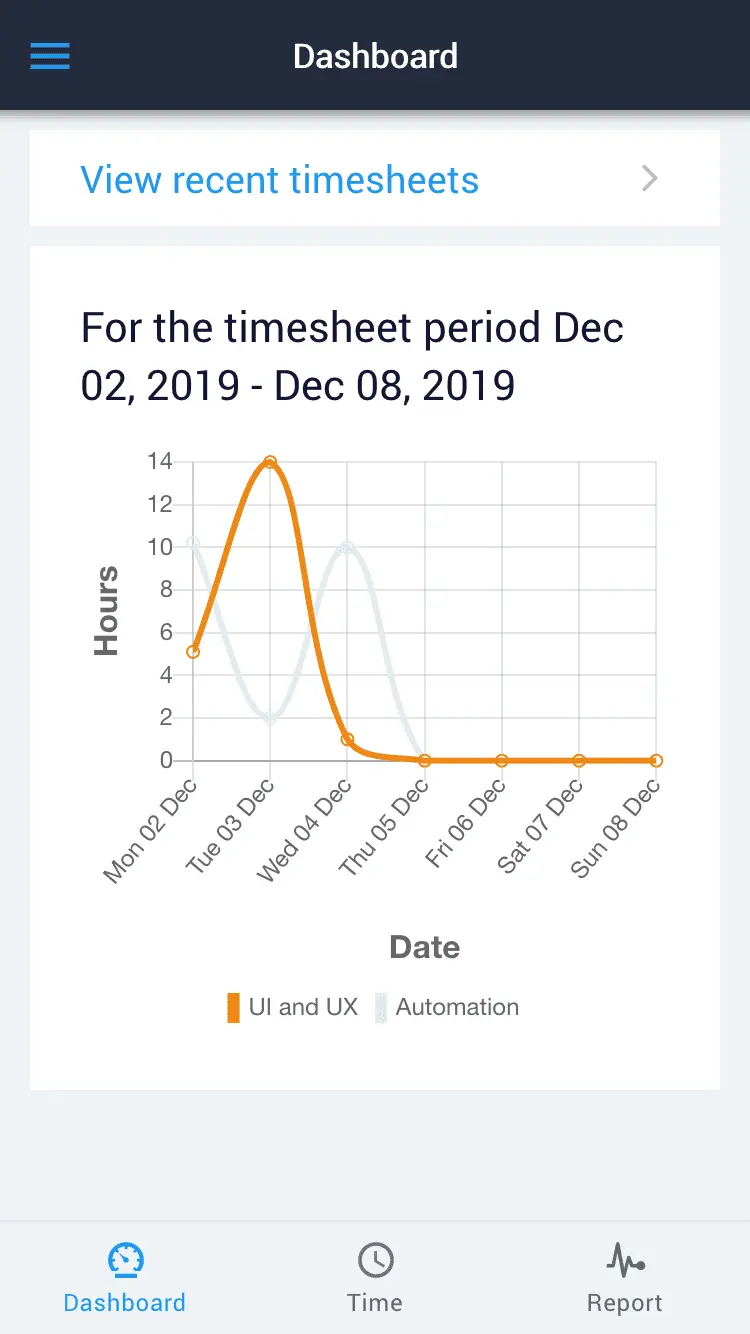
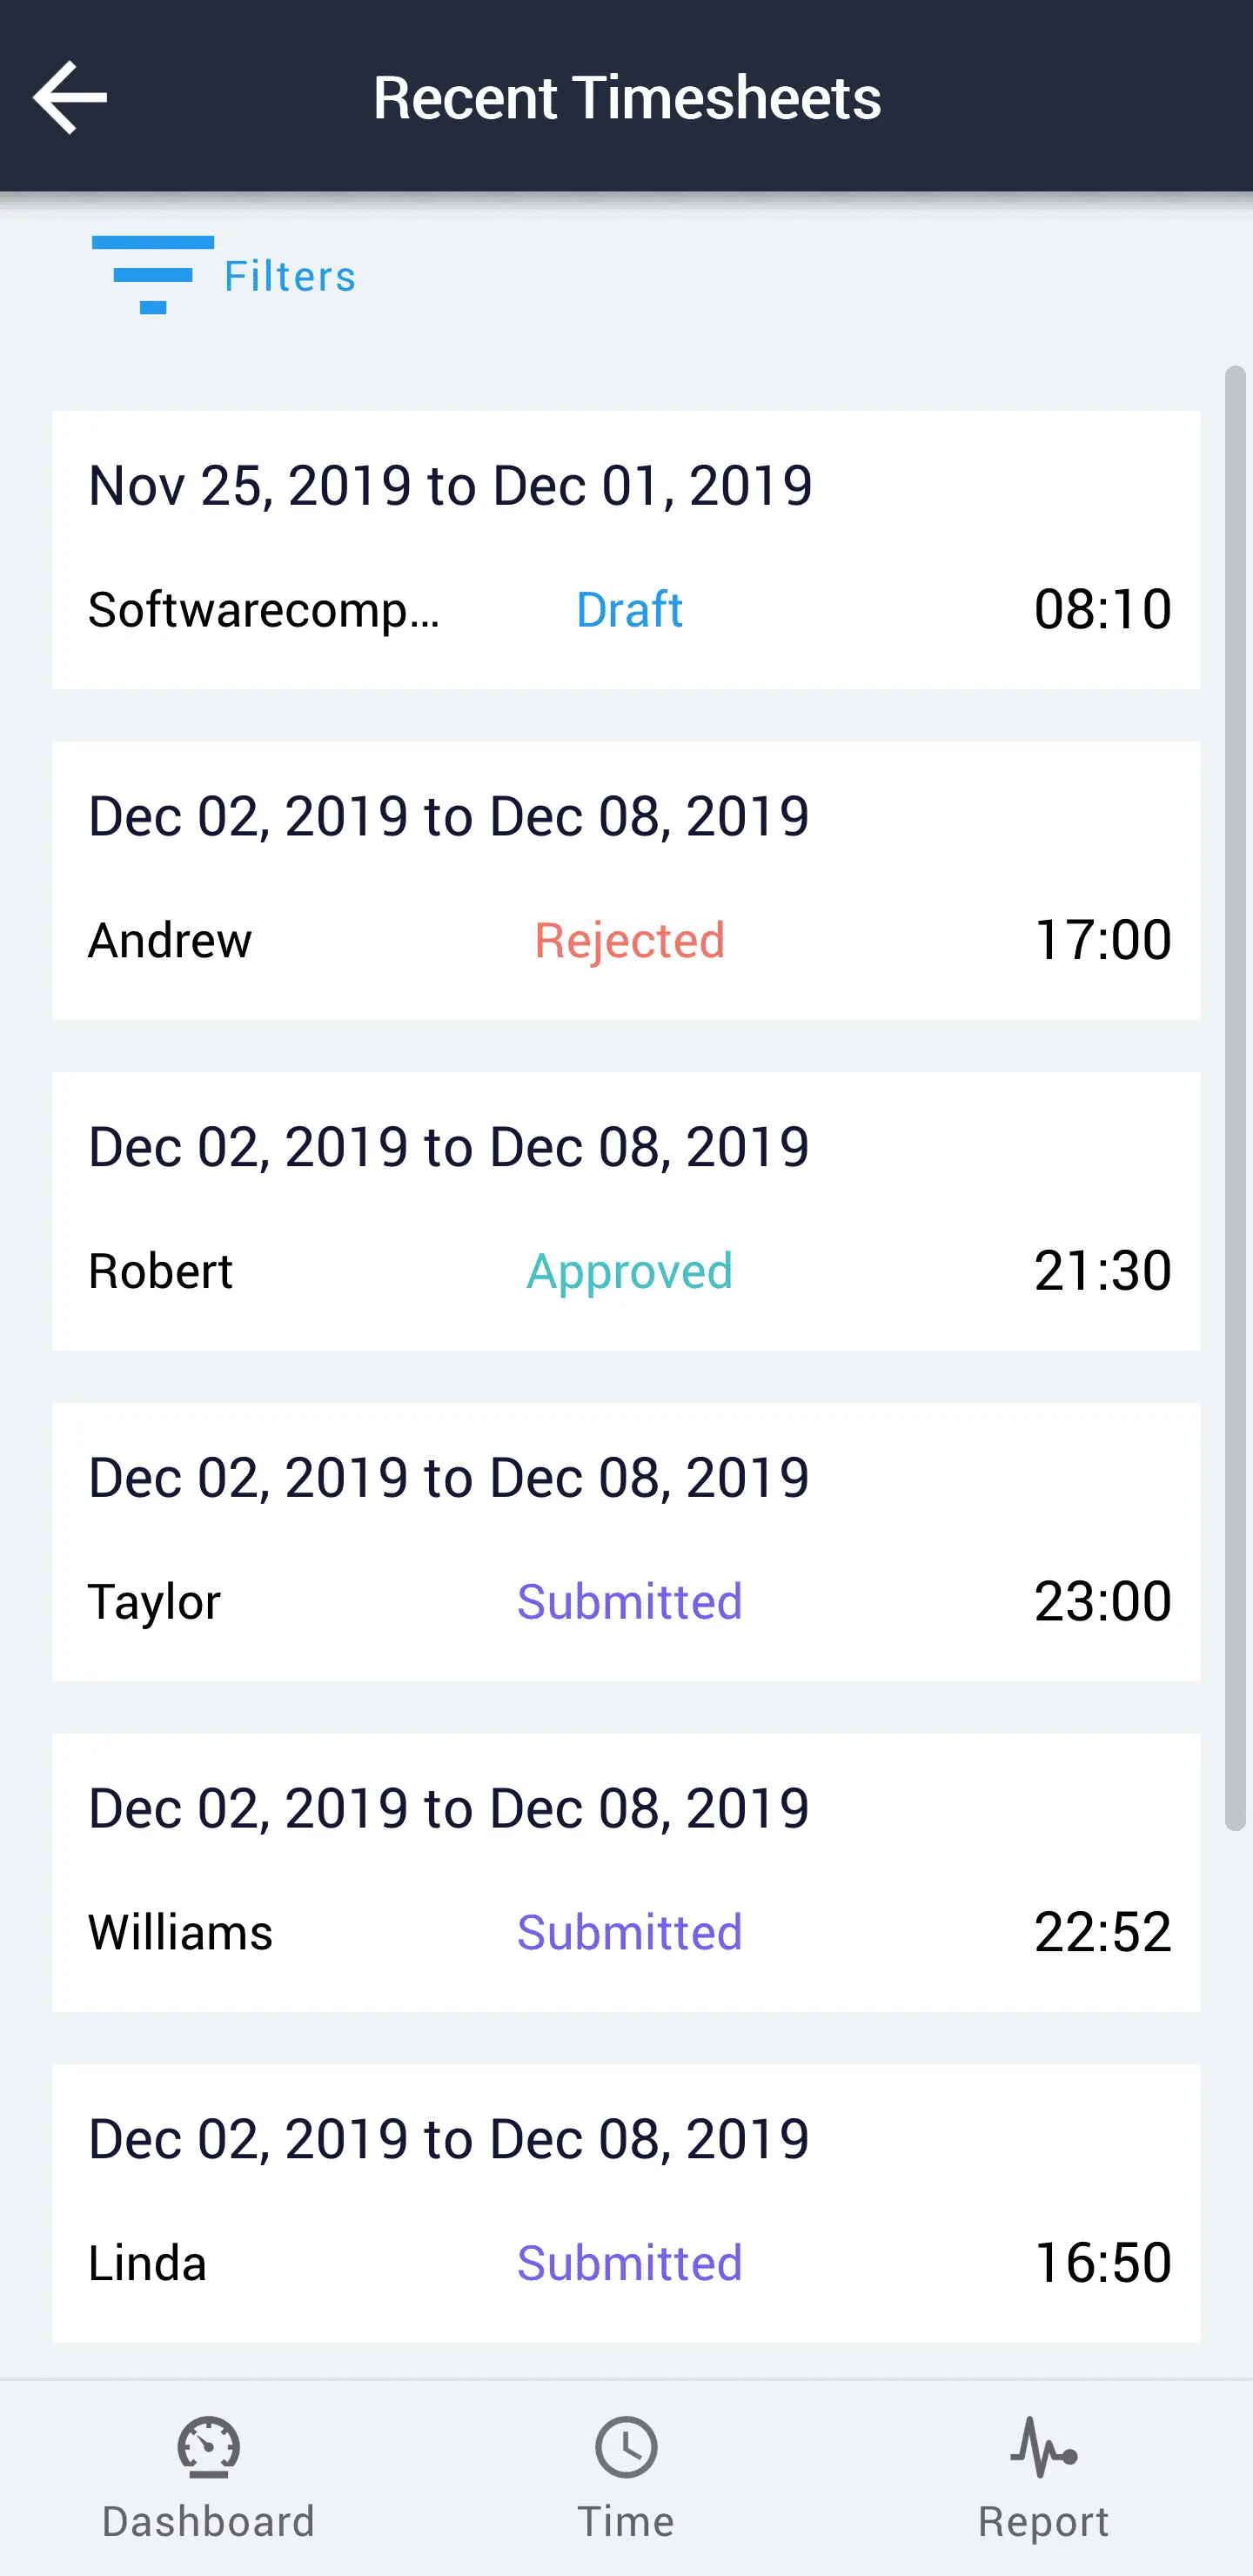
Recent timesheet: At recent timesheet administrator can view recent timesheets of his employees & his own. Whereas users can view their own timesheets.
Web View :
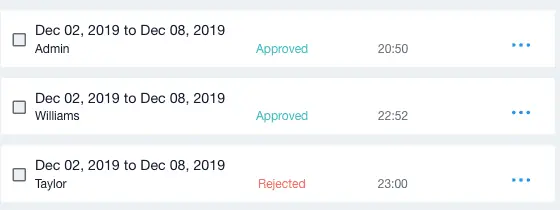
Timesheet Status:
Draft: This is the state when the timesheet is in edit state, the draft state of employees
timesheet will not be visible to the administrator.
Submitted: After entering time, employees can submit the timesheet. This will appear on
administrator's dashboard, where administrator should approve or reject it. In this state user
can withdraw by rework option & update & re-submit. Administrator's timesheet will be automatically
approved when he submits it.
Approved: When administrator checks & approves, the timesheet is in approved state,
in this state the user can't edit his timesheet.
Rejected: Administrator can reject the timesheet with a comment,
employee has to update his time & submit again the timesheet for approval.
From the mobile App:
Administrator can swipe on the timesheet card to approve or reject the timesheet.
(Swipe to the left on the submitted timesheet to approve.)
(Swipe to the right on the submitted timesheet to Reject.)
(Multiselect the project to Reject or approve Timesheet.)
From the iPad or web app:
Administrator can approve or reject the timesheet from the menu.
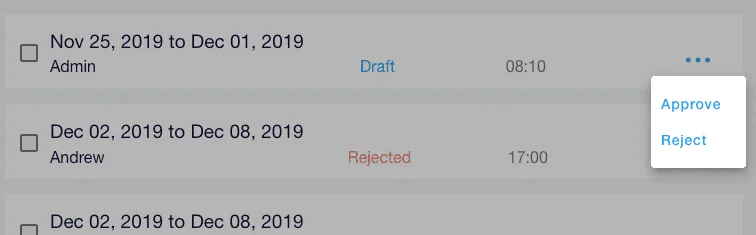
Administrator can also select (Long press in mobile app & use check box for ipad/web app) multiple timesheet and reject or approve the same at a time from recent timesheet screen.
Company
Here you can set your company name, frequency of timesheet (Weekly or bi-monthly) and Timezone. Administrator can directly navigate to upgrade /purchase screen from here.
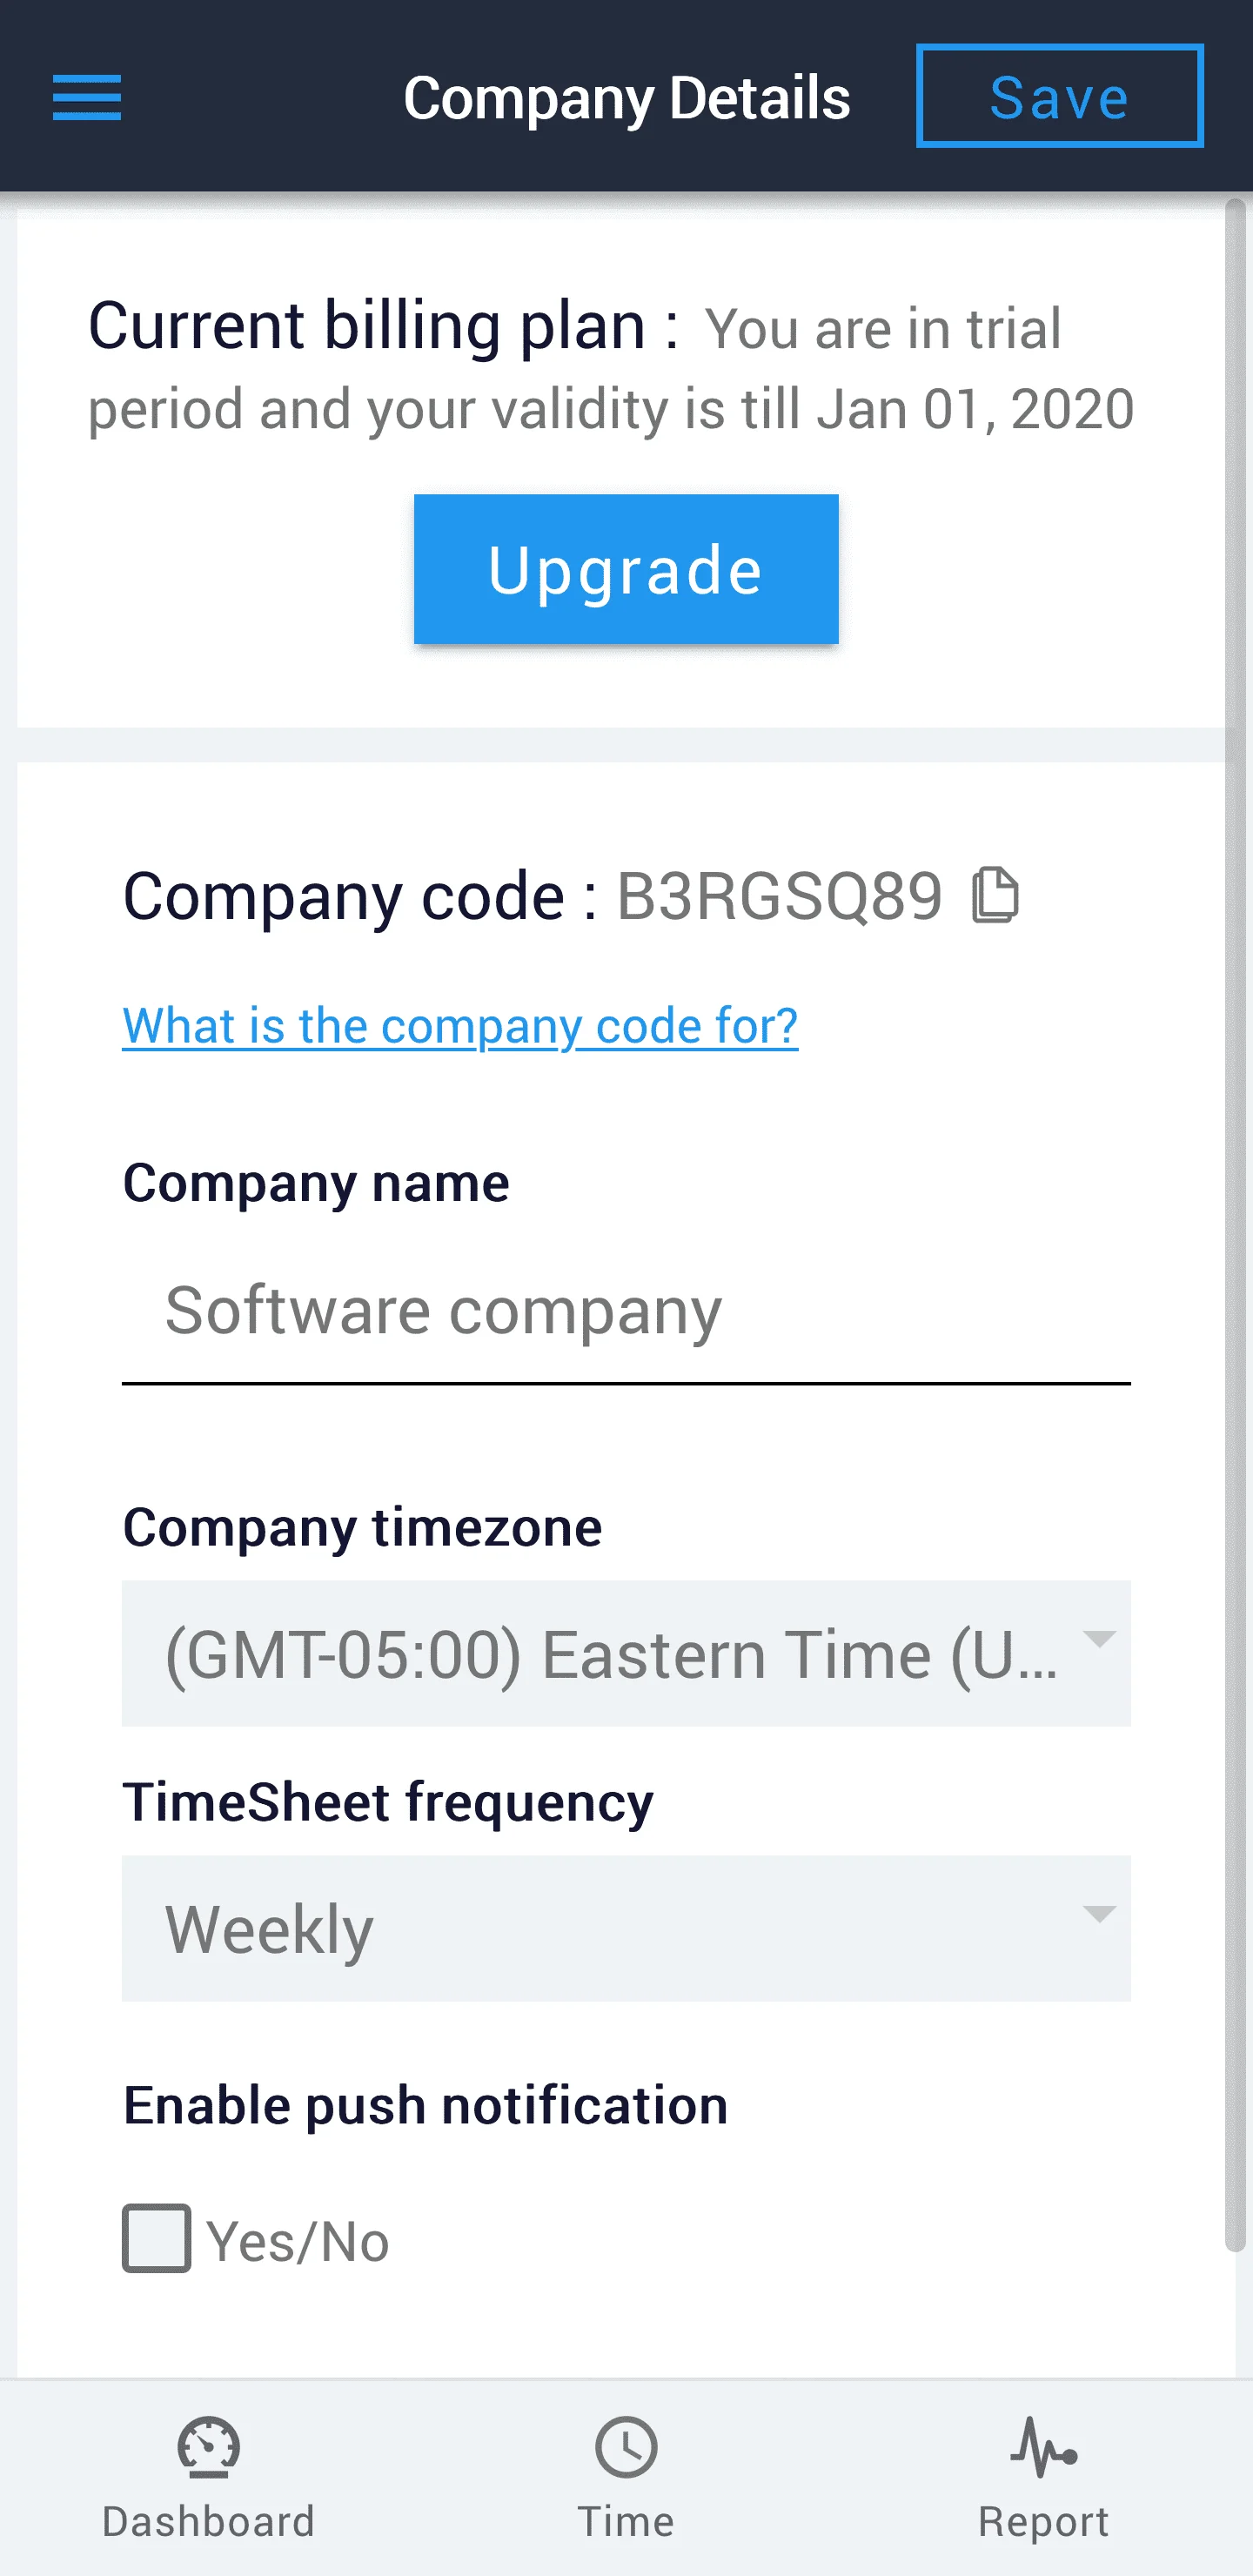
Push Notification: When it is enabled, the administrator will receive push
notification when his
employees submits the timesheet and employee will receive push notifications when admin approves/rejects
the timesheet.
Note: To receive push notification, the app has to be allowed to receive notification in device
settings.
Company code: It's a unique code generated for your company, which is given to employees to join under the company account if they have signed up for the account by themselves, so that they can submit their timesheet to their administrator. User/employee can be added by administrator from the Users screen.
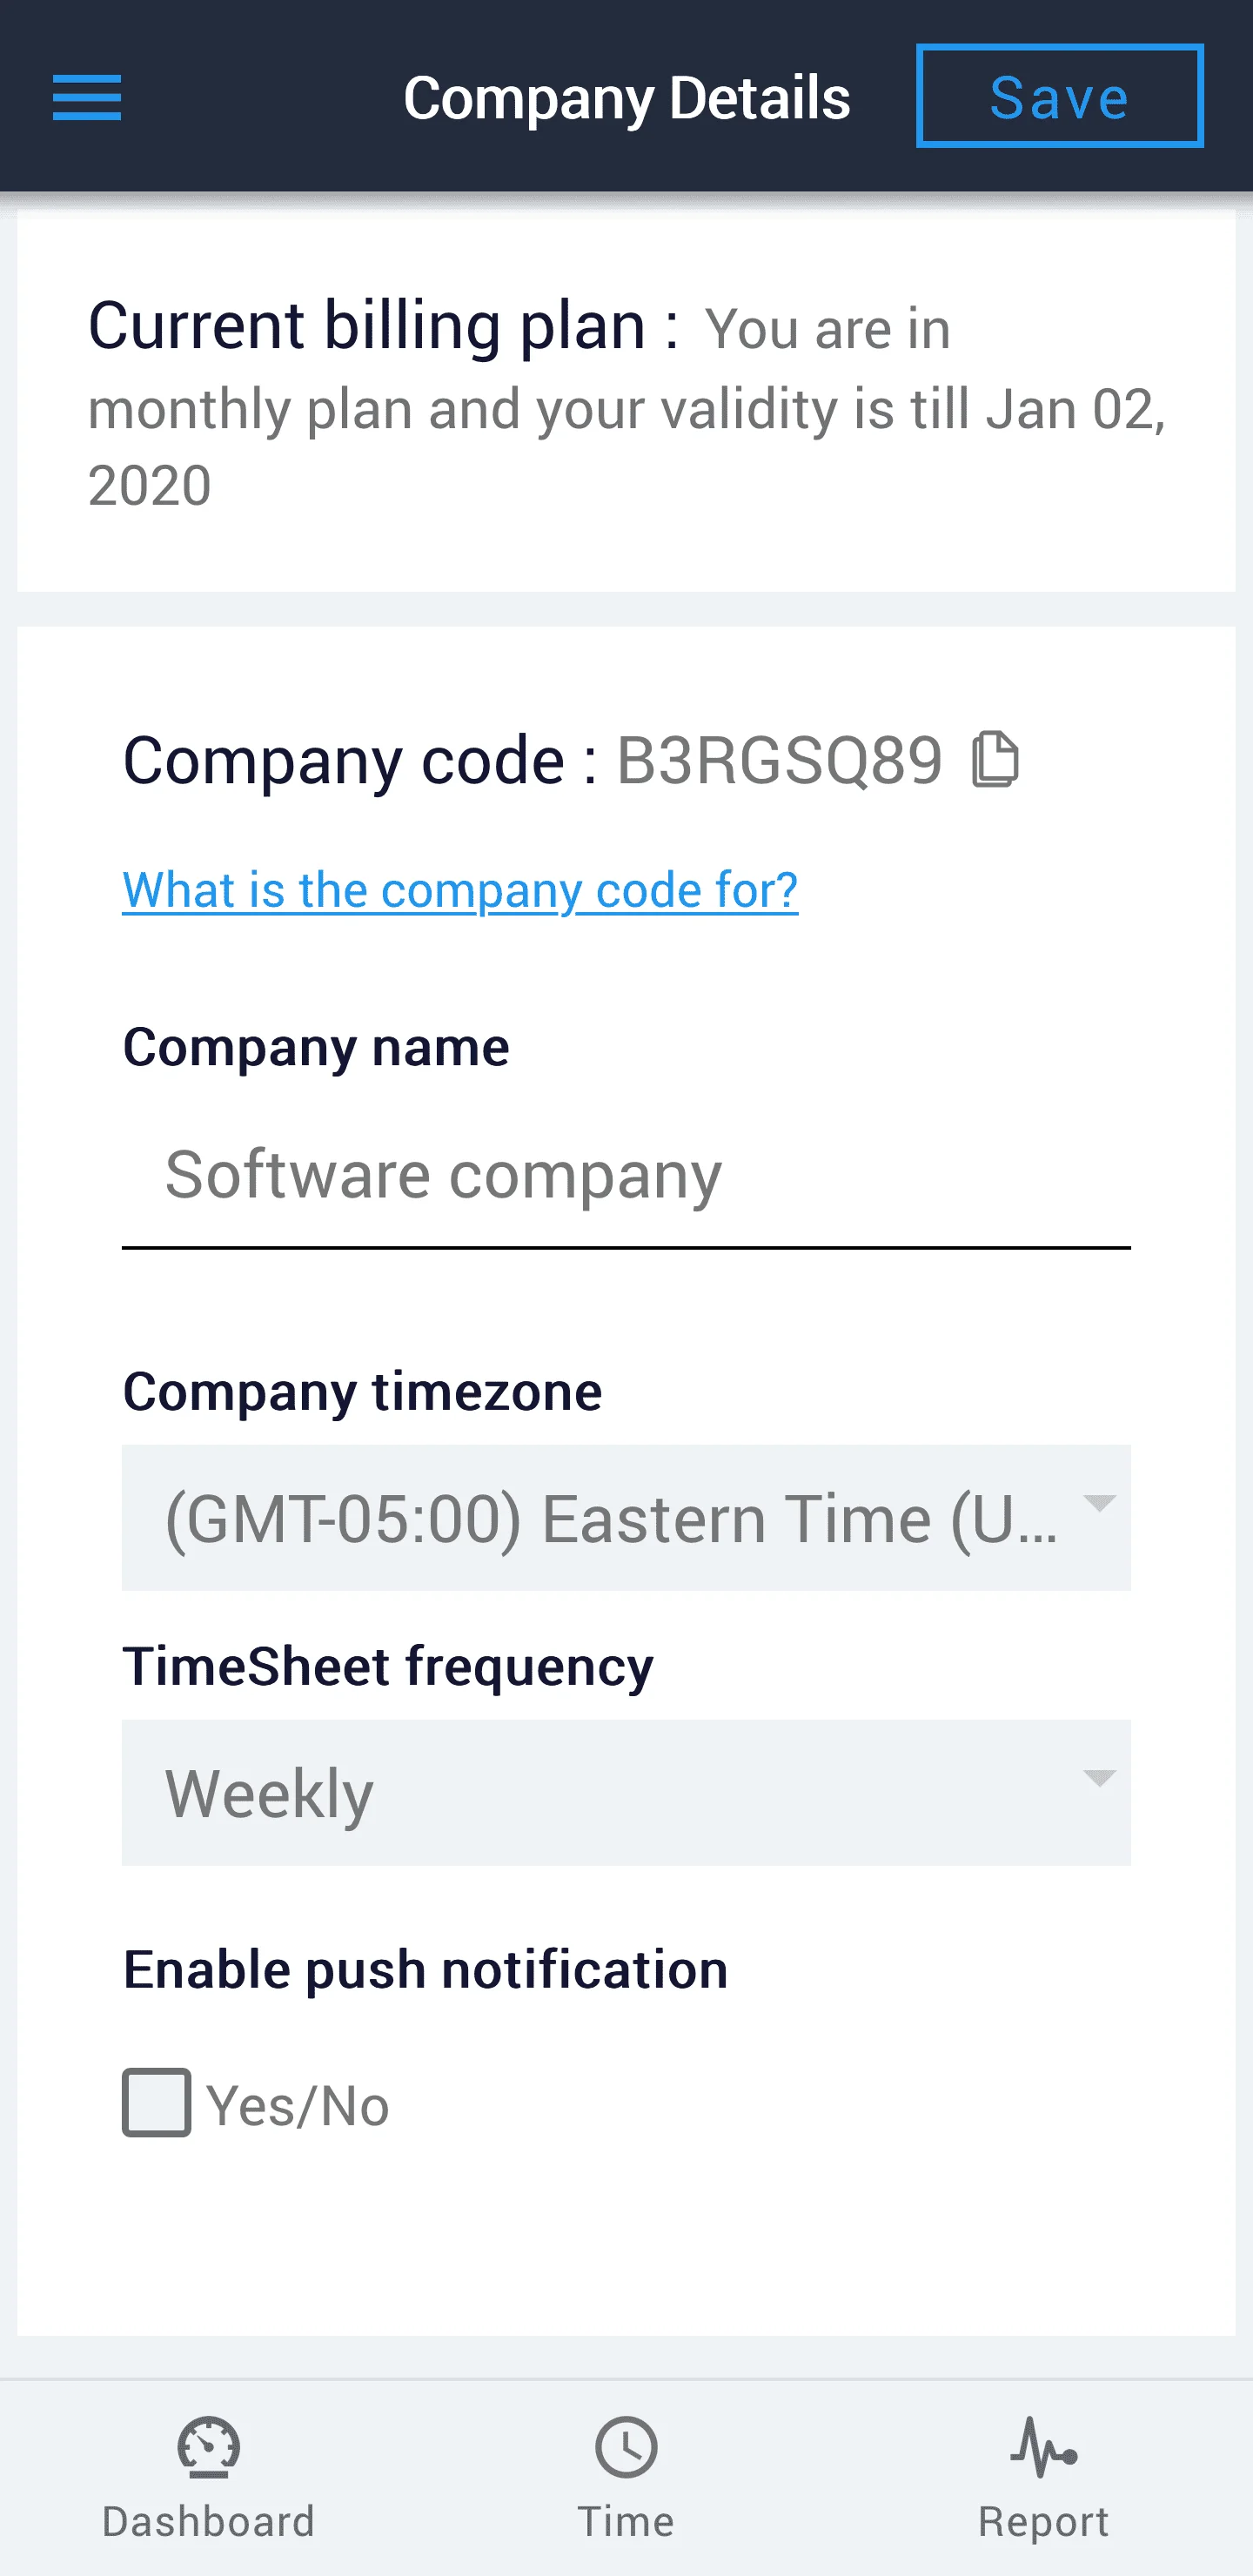
After Upgrading Administrator can view their validity date from this screen & detailed view of purchase can be viewed at Menu -> Payment History
Premium Settings
It includes three settings which can be enabled from Menu -> setting -> Premium settings
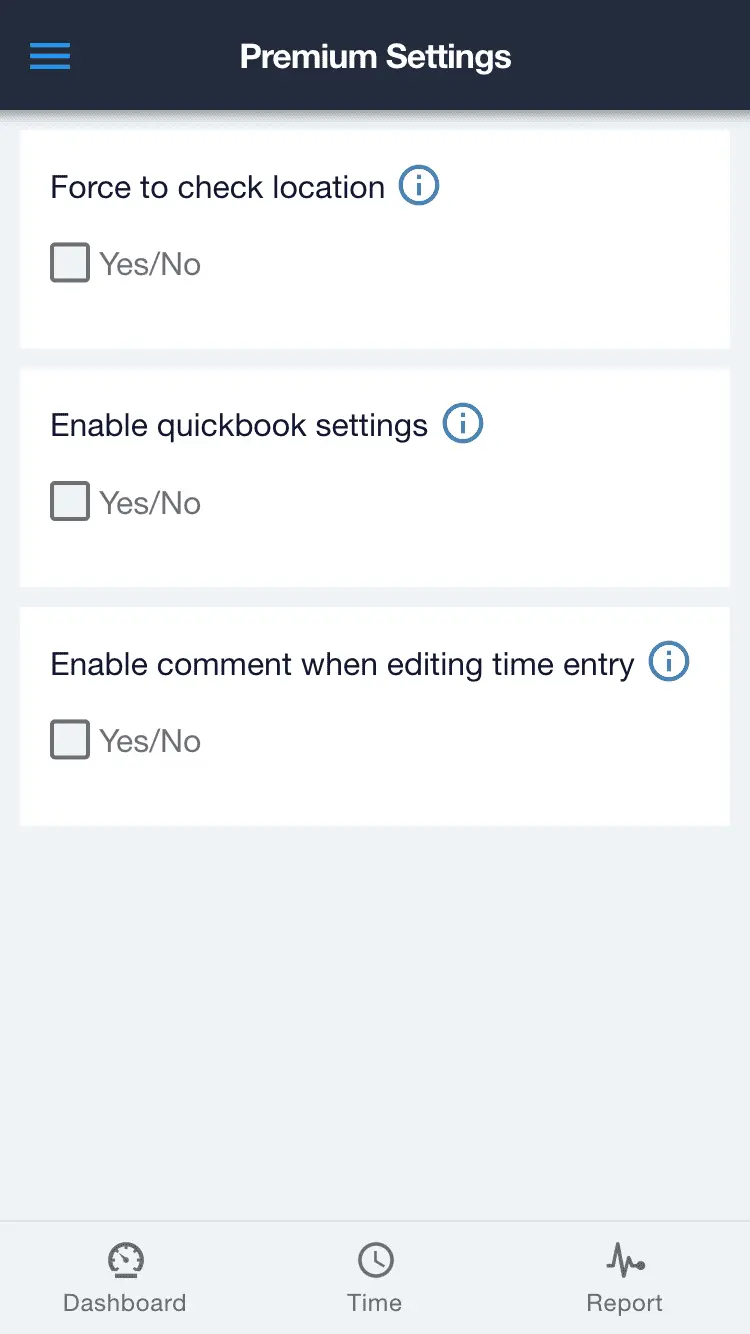
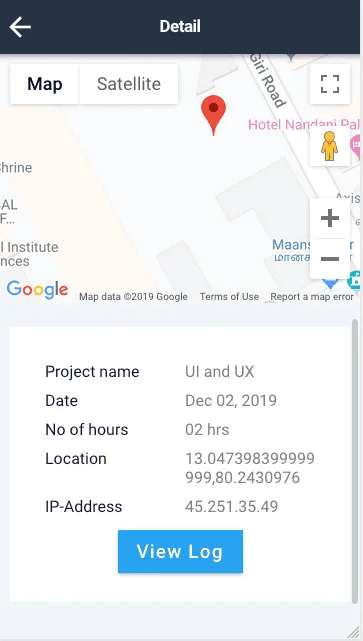
Location: By checking this option On, the employees cannot enter their time at Timescreen without enabling location, this allows us to capture their location when they enter their time & store it for the particular time entry for the day. Location will be pinned on a map in the Time detail screen which will be very useful for particular companies in which employees work in customer location or various other company branches.
Enable location :
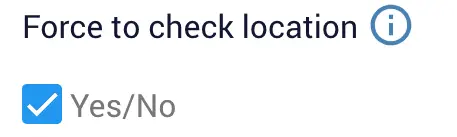
(Location will force employee to enable location which allows to capture live location along with time recorded.)
Enable Quickbook :
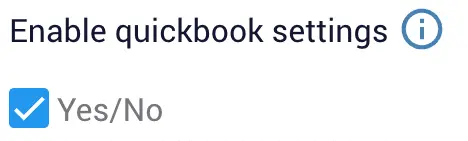
(Enabling this quickbook settings will allow you to setup quickbook & allow you to download quickbook format reports.)
Enable Comment :
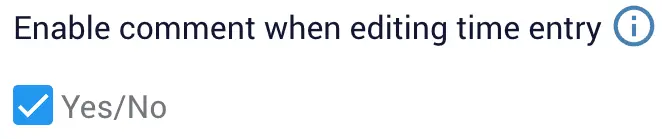
(Enabling comment will force the employees to comment when they enter their time. This can be helpful for the administrator to know the actual reason for the Time entry.)
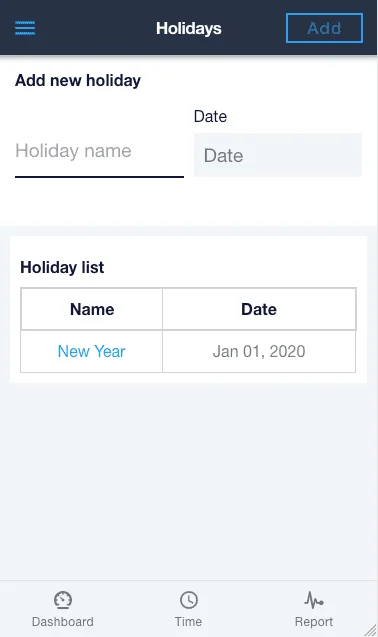
Holiday List
Administrator can add the list of holidays at Menu -> Settings -> Holiday list. This will be used at the payroll report.
Quickbook
To download Quickbook report, Quickbook setup has to be done at QuickBook Setting
and at project level. Then Quickbook report can be downloaded for the date range at Quickbook download
screen.
Note: To enable quickbook download & it's setting, Administrator has to enable it at
Premium Settings
Quickbook download:
Menu -> Quickbook settings
Quickbook setup:
Administrator has to set the quickbook fields at the Menu -> Setting -> Quickbook settings and also at every project level.
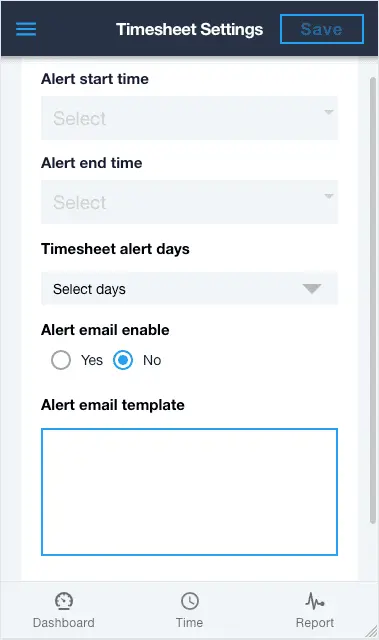
TimeSheet Alert Setting
This setting sends email notification to employees who haven't submitted the timesheet yet, the email notification with custom message will be sent every hour between the given start & end hour for the given day(s).
To access TimeSheet Alert Setting, go to: Menu ->Setting -> TimeSheet Alert Setting
Users
Administrator can add his employees from users screen and provide basic employee details, then an email will be sent to the employee's email address with the credential and other details.
Assign Projects: Projects can be assigned to the employee by clicking on the user & select Assign Projects from pop-up, then select the Project(s) from the list of unassigned & press on Assign button. List of assigned Project can be viewed from View Assigned Project in the same pop-up.
Projects
Administrator can create a project with it's active time range. And also the project can he hidden so that it doesn't appear at Time screen even in it active time range using the Hide button.
Assign Users: Project can be assigned to the employees by clicking on the project & select Assign users from pop-up, then select the user(s) from the list of unassigned & press on Assign button. List of assigned users can be viewed from View Assigned Users in the same pop-up.
Time
This is the screen where employees & administrator can enter their time everyday and submit the
Timesheet for administrator's review.
Timesheet Status:
Draft: This is the state when the timesheet is in edit state, the draft state of employees
timesheet will not be visible to the administrator..
Submitted: After entering time, employees can submit the timesheet. This will appear on
administrator's dashboard.
Administrator timesheet will be automatically approved when he submits.
Approved: When administrator checks & approves, the timesheet is in approved state, in this state
the user can't edit his timesheet.
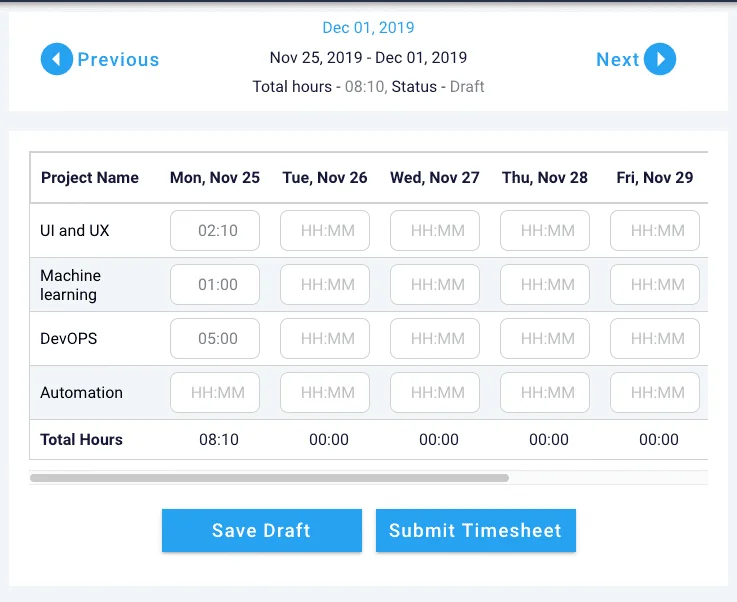
Mobile View of Timesheet screen :
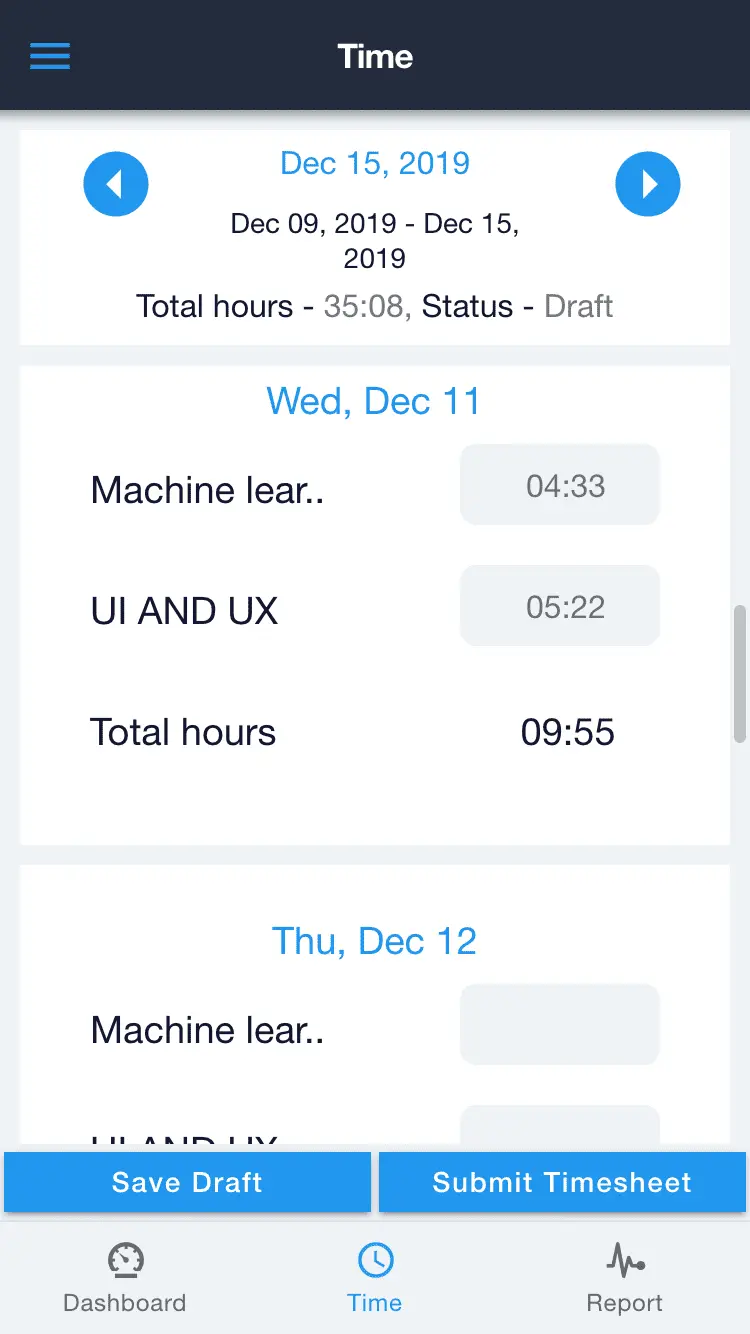
Input :

(Enter your time for the project.)
Draft Timesheet :
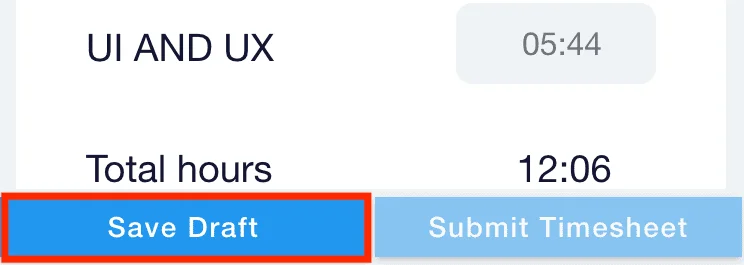
(This saves entered time, but doesn't submits to admin.)
Submit Timesheet :
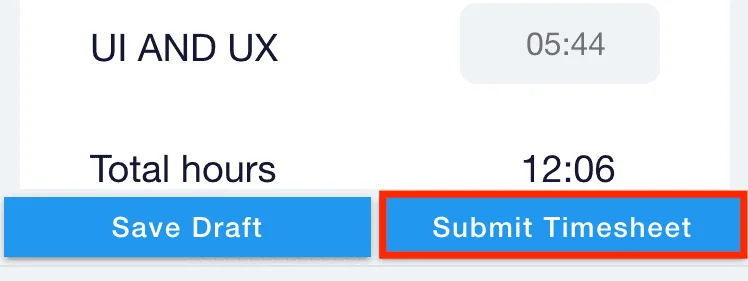
(This submits entire timesheet for the period to admin for approval.)
Status :

(This show the current status of timesheet and timesheet will be editable only on new or draft status.)
Browser View of timesheet screen :
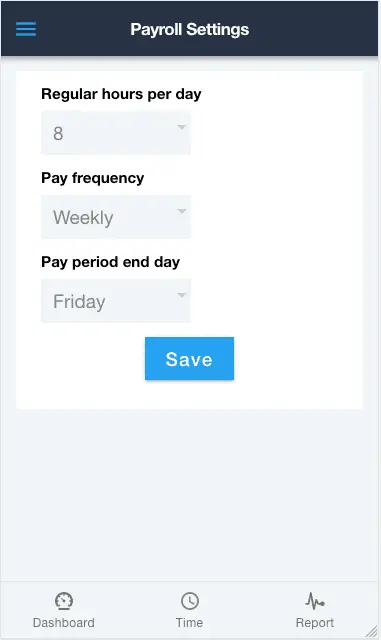
Payroll Settings
To generate payroll report from
Reports, hours per day
and pay frequency needs to be set. By default 8 hours and Monthly will be set.
To access PayRoll Setting, go to: Menu -> Settings -> PayRoll Setting.
Report
Various types of report can be viewed or downloaded from reports screen, available types are
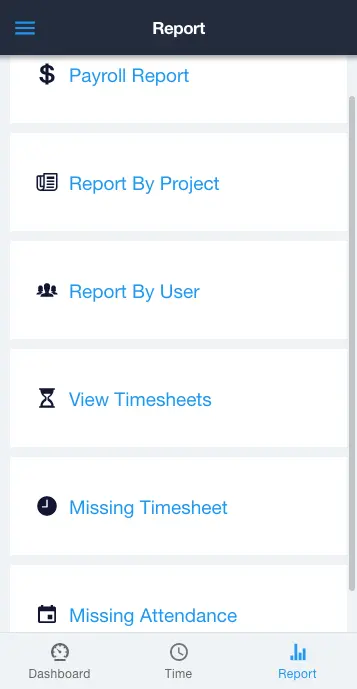
Payroll report - Payroll report will be generated with hours of Regular, overtime,
holiday and paid time off for the users. This requires a settings to be set with parameters Pay freq,
hours, etc.
Report by project - This report generates overall project level total hours and further in
detail
user level total for the projects for the selected criteria.
Report by user - This report generates overall user level total hours and further in detail
project
level total for the users for the selected criteria.
Missing timesheet - This report generates the list of missing timesheet of users for the
specified period.
Missing Attendance - This report generates the list of missing attendance of users for the
specified period and also which has option to exclude for specific days
Upgrade
We offer a 30 day free trial period, Unlimited projects & users can be set and trial at this period.
After 30 day free trial period administrator has to upgrade to the Monthly plan.
Administrator can upgrade by proving their credit card details at Menu -> upgrade.
The credit card will be charged on 1st of every month
Payment History:Administrator can view the history of
payments i.e the recurring payments charged for
the number of users in the company from Menu -> payment history.
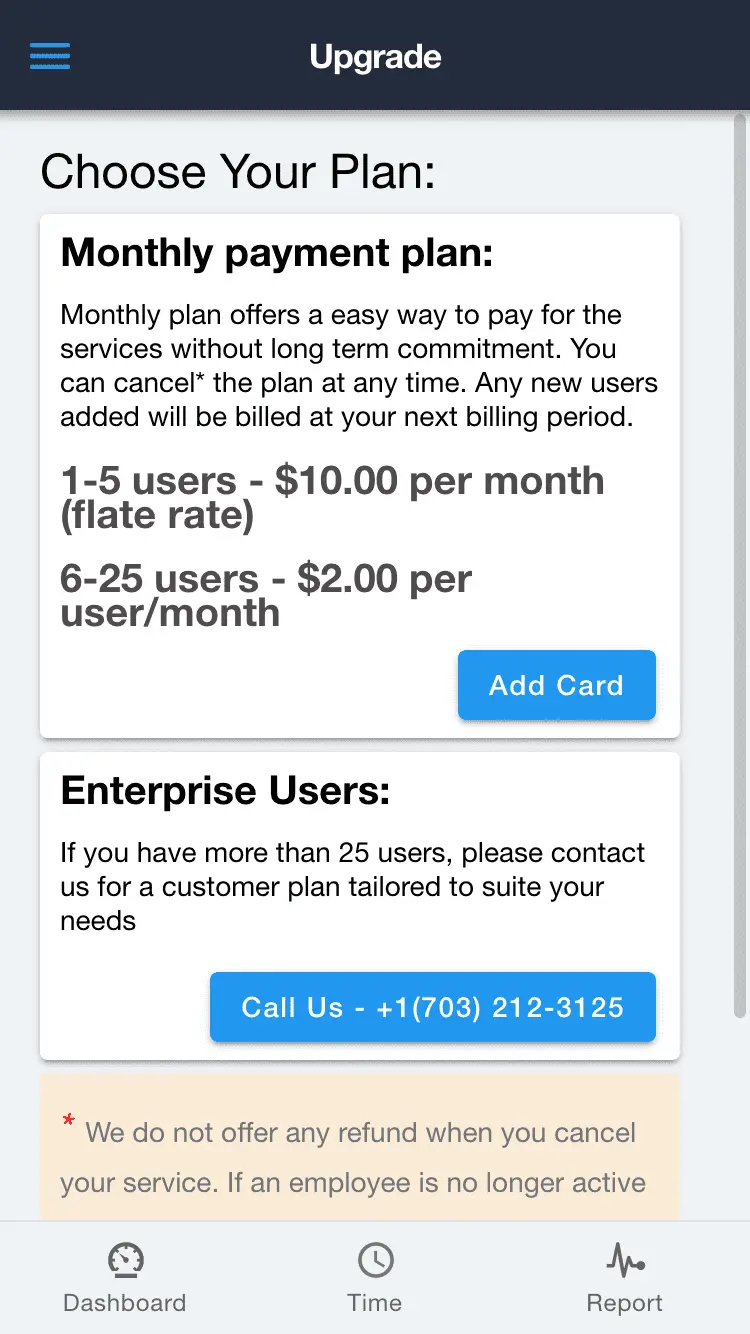
Monthly payment plan:
Monthly plan offers a easy way to pay for the services without long term commitment. You can
cancel* the plan at any
time. Any new users added will be billed at your next billing period.Recurring payments will be
processed on 1st of every
month also note that Prorated amount will be processed on first month if applicable.
1-5 users - $10.00 per month (flate rate)
6-25 users - $2.00 per user/month
Enterprise Users:
If you have more than 25 users, please contact us for a customer plan tailored to suite your needs